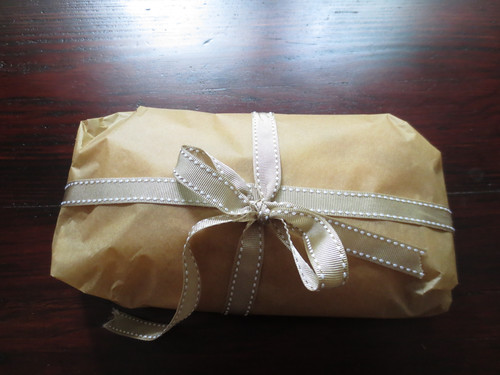
I think it's safe to say that my bread-making muscles need a little workout. Between scaling back my hours at the restaurant and the carb-less lifestyle that comes along with preparing for a wedding, I haven't had the opportunity to make bread in almost four months! Luckily, I was visiting my sister/brother in law and they love ciabatta, so I had a great excuse to whip out the 'ole dough hook.
There's something about making bread at home that is just terrifying. I could made perfect breads all day long at the restaurant, but for some reason, it always seems to flop at my house. It may be because the average temperature in a restaurant is similar to an amazonian rain forest (warm and humid - the perfect conditions for bread to rise) and my house is pumping at the central air at a chilly 71*. It may also be the fancy convection ovens as opposed to my (also fancy but not commercial) gas oven at home.
Or maybe, as with most things, my anxiety gets the best of me and I sabotage myself. The number one thing to remember when making bread at home is that you need patience! It takes forever and if you rush it, you'll be sorry. You too can make bread at home, and I'll give you two tips for success:
1. Give your bread enough time to rise.
There are multiple periods that you'll need to wait for your bread to rise. My ciabatta had a starter (known as a biga - it's a high percentage of water and looks sort of like beige slime). The starter ferments over night. The next day, I mixed the dough. I let it rise for two hours, stretched and folded it a bit, then let it rise for two hours again. Then I made it into loaves and let those rise for 90 minutes. You get the picture.
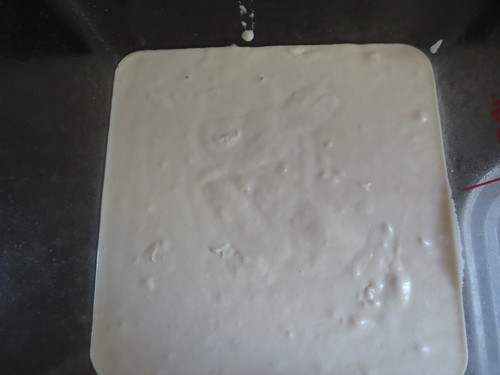
Soupy biga
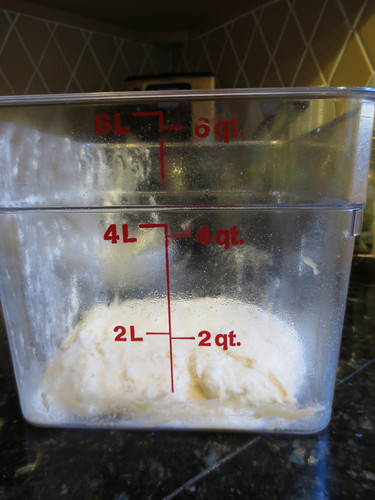
If you read a bread recipe in a cookbook, it probably says "let rise one hour or until doubled in size". I always go by volume, not time, because cookbooks are for a wide audience - don't you think bread rises faster in NC than it does in Antarctica? I sure do. I also, however, have a really bad memory - how the heck am I supposed to remember what that fleshy blob looked like an hour ago? That's why I use a storage container with markings on the side. It makes it easy to see how much the dough has grown. If you don't have one, just put a piece of masking tape on your container by the level of the dough.
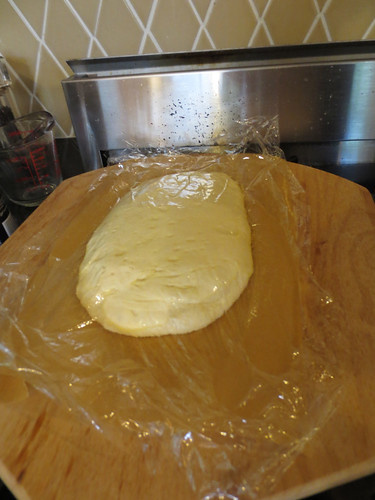
Here's what my bread looked like after one hour of proofing. It's not at all ready. If I had baked it at this point, it would have looked like a block of cement and you probably would have thought it was raw inside because of the mealy texture. AREN'T YOU GLAD I WAITED?
Not ready, fool.
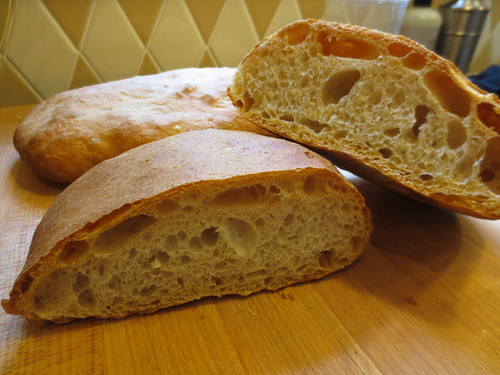
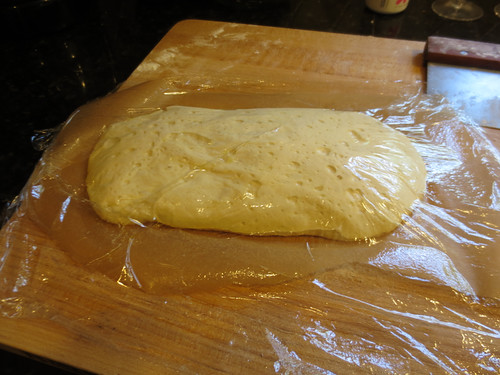
Here's the bread after the second hour. If you've eaten ciabatta before, you know that the crumb is airy and there are lots of holes on the inside (perfect for sopping up olive oil!). The dough should be pretty puffy when it goes in the oven. This is looking good!
Boom goes the dynamite.
2. Use a hot ass oven.
Crank that oven up as high as it will go. If you smoke out your house, you're on the right track (um...also, clean your oven, you pig). Let the oven preheat for at least an hour. You can think of some other things to bake when it's heating (sweet potatoes!) if wasting gas makes you antsy.
For the love of God, get a pizza stone. When you're not using it for bread, keep it in on the bottom oven rack and it will help regulate temperature.
I have a squirt bottle of water that I spray on the baking stone and racks right after I put the bread in. Professional bread ovens have a steam injector. I am a human steam injector. The key is to spray like crazy and then shut the door as fast as you can. You will look like a huge spaz, but the result is a delicious, crispy outer crust. If you've been making flaccid bread (gross!) try the squirt bottle trick and see if it improves your crust. Also, get a pizza stone.
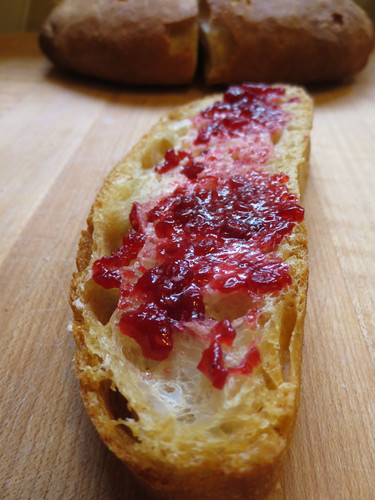
This ciabatta was pretty basic. I used a King Arthur Flour recipe because those don't usually disappoint. It came out nice, but was pretty unexceptional until I slathered it with raspberry jam and butter (see below). Thanks, Aunt Rosie, for the superior raspberry jam! I also used it to make a panzanella salad, which was incredible.
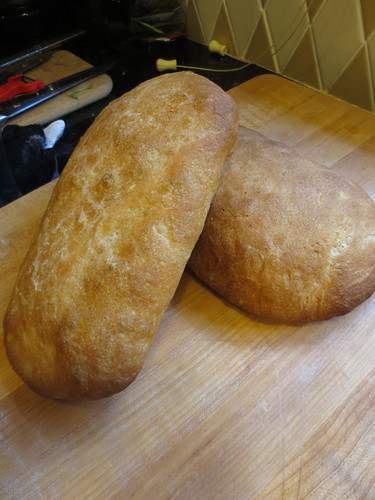
Fun fact: Ciabatta means slipper in Italian. I always thought this was stupid, but my loaves kind of do look like slippers! For a person who has really fat, square feet, but still. They look like slippers that could walk through a foot of snow. That's a slipper I could get behind.
So I'm sorry for judging your silly bread names, Italy. I take back (most) everything I've said about you.
Looks delicious, Alice! Recipe, please!
ReplyDelete